
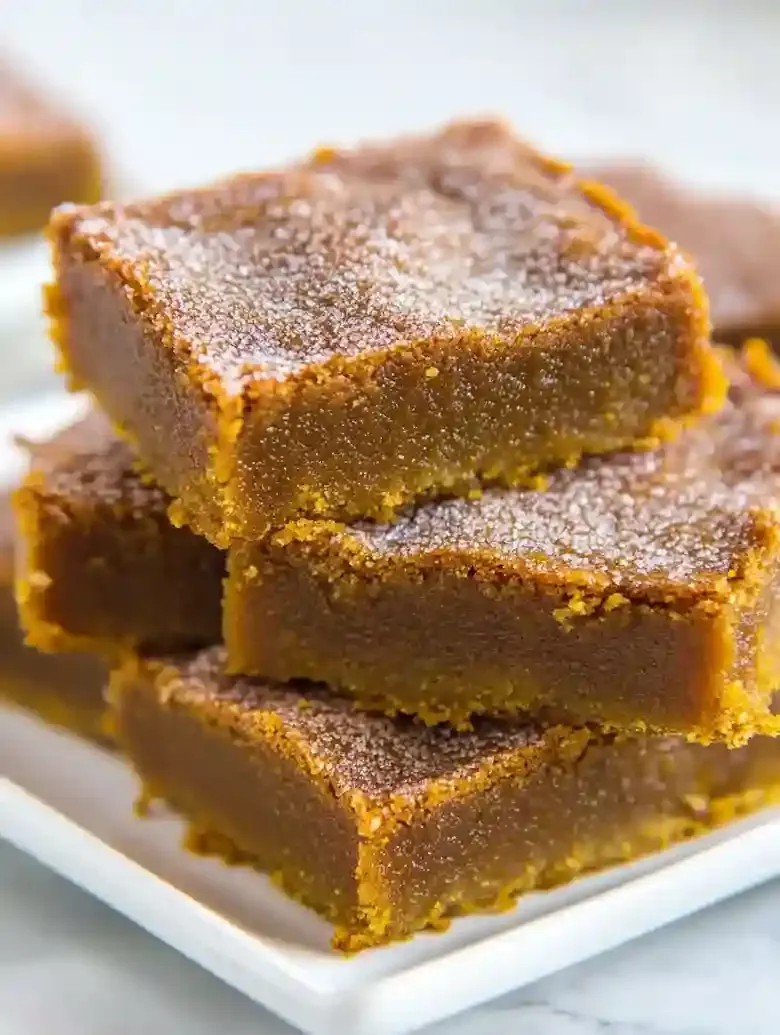
If you’re craving a cozy treat, my pumpkin snickerdoodle blondies are just the thing! These bars deliver the warm spices of snickerdoodles with the rich flavor of pumpkin, all baked into a soft, chewy texture that feels like home.
This pumpkin snickerdoodle blondies recipe answers issues with extended preparation, dry texture, weak spice presence, and challenges in achieving soft, chewy fall dessert bars quickly and effectively.
I always find myself looking for something sweet to make during fall, especially when I have unexpected company. This recipe solves the problem of being short on time while delivering delicious results that everyone will love. I remember one busy evening, I almost burned my first batch, but with a few tweaks, I made these blondies perfectly soft and oh-so-satisfying.
You’ll love how quickly this recipe comes together, taking just about an hour from start to finish, including cooling time. The end result is a batch of blondies that are even better the next day, allowing all those warm flavors to meld together. If you enjoy easy seasonal baking, make sure to check out my Sourdough Banana Muffins for another yummy fall treat!
Table of contents
Dietary Considerations
- This recipe is not gluten-free due to the use of all-purpose flour in the ingredients.
- The recipe contains butter and white chocolate chips, so it is unsuitable for vegan diets.
- This recipe does not meet keto or low-carb diets because of brown sugar and flour content.
- The recipe is nut-free as it includes no nuts or nut derivatives in the ingredients.
- The recipe suits vegetarian diets since it contains no meat or animal-derived gelatin.
Why You Will Love This Recipe
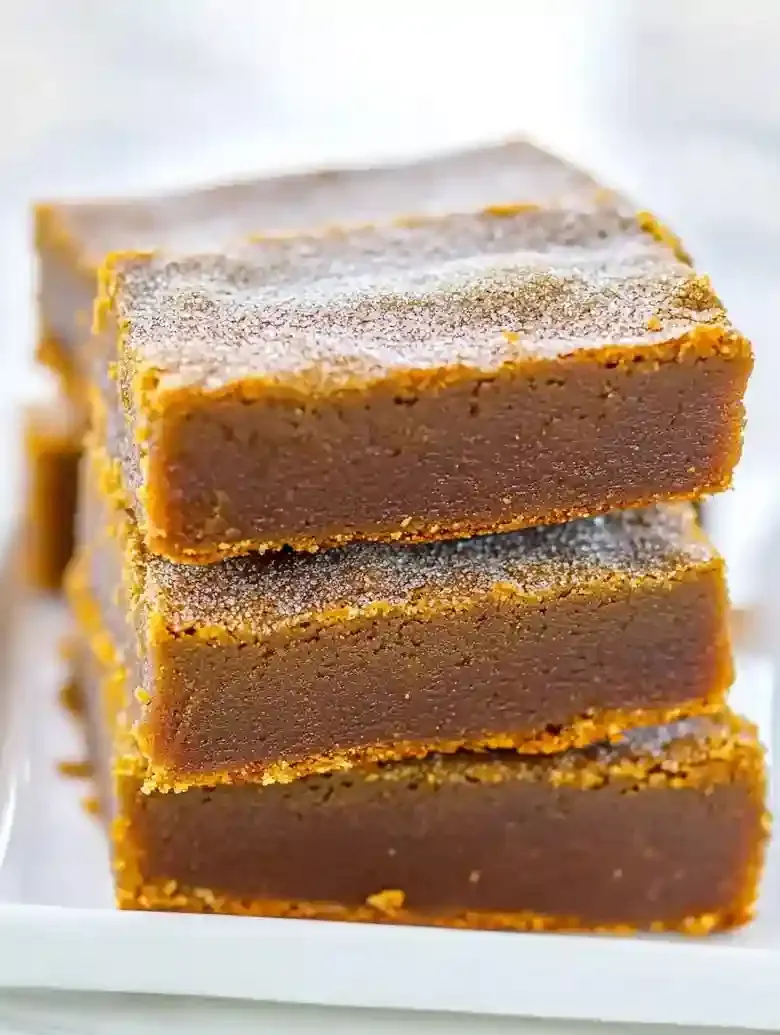
- Soft and Chewy Texture This recipe creates blondies that are wonderfully moist and soft, delivering that sought-after chewiness with every bite. You’ll find they stay fresh longer, making them ideal for sharing or enjoying over a few days.
- Warm Pumpkin Spice Flavor The addition of pumpkin puree and pumpkin pie spice brings a cozy, seasonal flavor that’ll remind you of cooler days. It’s a comforting treat that complements any fall gathering or quiet evening at home.
- Quick Prep Time With just a five-minute prep, you can whip these blondies up in no time. This ease makes them a great choice for spontaneous baking sessions or when you need a quick, satisfying dessert for an occasion.
- Versatile Treat These pumpkin snickerdoodle blondies can be enjoyed in various ways, from serving them with a scoop of vanilla ice cream to pairing with a hot drink. They fit seamlessly into any fall menu or gathering.
How to Make Pumpkin Snickerdoodle Blondies
- Prep Time: 5 minutes
- Cool Time: 30 minutes
- Cook Time: 27 minutes
- Total Time: 1 hour
- Yield: 12 servings 1x
- Category: dessert
- Method: Baking
- Cuisine: American
- Diet: Vegetarian
Description
Delicious pumpkin snickerdoodle blondies with a soft, chewy texture and warm fall flavors.
Ingredients
- ½ cup (113 g) unsalted butter
- 1 large egg
- 1 cup (220 g) light brown sugar
- ¾ cup (180 g) pumpkin puree, 100% pure
- 1 tablespoon (15 ml) vanilla extract
- 2 teaspoons (5 g) pumpkin pie spice
- 1 ¼ cups (156 g) all-purpose flour
- 3 tablespoons (38 g) granulated sugar
- 2 teaspoons (5 g) cinnamon
Instructions
- Step 1: Set the oven to 350°F (177°C). Allow it to fully preheat before baking for even baking results.

- Step 2: Line an 8-by-8-inch baking pan with aluminum foil. Spray lightly with cooking spray to assist with easy removal and clean edges after baking.
- Step 3: In a large microwave-safe bowl, melt the ½ cup unsalted butter on high power for about 1 minute. Watch carefully to avoid burning; the butter should be melted but not sizzling.
- Step 4: Let the melted butter cool for a moment before adding the egg to avoid scrambling. Add 1 large egg, 1 cup light brown sugar, ¾ cup pumpkin puree, 1 tablespoon vanilla extract, and 2 teaspoons pumpkin pie spice. Whisk together until smooth.
- Step 5: Add 1 ¼ cups all-purpose flour to the wet mixture. Stir gently until just combined. Small lumps in the batter are acceptable. Do not overmix to preserve tenderness.
- Step 6: Pour the batter into the prepared pan. Use a spatula to smooth and spread the batter evenly across the pan to ensure uniform baking.
- Step 7: In a small bowl, mix 3 tablespoons granulated sugar and 2 teaspoons cinnamon until evenly combined.
- Step 8: Using a small spoon, sprinkle the cinnamon-sugar mixture evenly over the batter surface. It may look like a lot but will soak into the batter during baking and enhance flavor.
- Step 9: Bake in the preheated oven for 25 to 27 minutes. Check doneness by inserting a toothpick into the center — it should come out clean or with a few moist crumbs but no wet batter. Check a few minutes early to prevent overbaking.
- Step 10: Remove from the oven and allow the blondies to cool in the pan for at least 30 minutes. Cooling sets the bars, enabling cleaner, easier slicing. The blondies taste better after 1 to 3 days as flavors meld.

Notes
- Store the blondies in an airtight container at room temperature for up to 2 days. Keep away from direct sunlight to prevent drying.
- Store in an airtight container in the refrigerator up to 7 days. Bring to room temperature before serving.
- Wrap the bars tightly in plastic wrap and place in a freezer-safe container. Freeze for up to 3 months. Thaw at room temperature prior to slicing.
- If blondies seem too dry, add 2 tablespoons of pumpkin puree to the batter before baking to increase moisture.
- When edges brown but center seems underbaked, start checking doneness at 25 minutes using a toothpick.
- If the cinnamon-sugar topping dissolves too much, add an extra tablespoon of granulated sugar to the mixture for better texture.
- Ensure flour is measured correctly by scooping lightly without packing down to avoid sticky batter or dense blondies.
- Allow blondies to cool at least 30 minutes before cutting to achieve clean slices and prevent crumbling.
Nutrition
- Serving Size: 1 blondie
- Calories: Data not provided
- Sugar: Data not provided
- Sodium: Data not provided
- Fat: Data not provided
- Saturated Fat: Data not provided
- Unsaturated Fat: Data not provided
- Trans Fat: Data not provided
- Carbohydrates: Data not provided
- Fiber: Data not provided
- Protein: Data not provided
- Cholesterol: Data not provided
Ingredient Notes
- Butter: Go for unsalted butter to control the sweetness. It adds a rich, creamy texture that helps the blondies stay moist. Be sure to let it soften to room temperature for easier mixing.
- Brown sugar: Use dark brown sugar for a deeper caramel flavor and chewiness. The molasses in the sugar contributes moisture and richness, making these blondies extra indulgent.
- Pumpkin puree: Stick with 100% pure pumpkin puree for a smooth texture and natural sweetness. Avoid pumpkin pie filling, which has added sugars and spices that may overpower the other flavors.
- All-purpose flour: A good quality all-purpose flour gives the blondies structure. Make sure it’s fresh for the best results. For gluten-free options, look for a measure-for-measure blend.
- Eggs: You’ll need one large egg at room temperature to bind everything together. It helps create that chewy texture everyone loves, so don’t skip this step.
- Cinnamon: Ground cinnamon is key for that warm, cozy flavor. Choose fresh, high-quality cinnamon for the best taste. You can add a pinch of nutmeg for an extra flavor kick!
- Vanilla extract: Go for pure vanilla extract to amplify the flavor. It adds an aromatic sweetness that makes each bite irresistible. Always check for high-quality brands for the best impact.
- White chocolate chips: Use good quality white chocolate chips for a sweet, creamy contrast. They bring a lovely richness to the blondies; just check the ingredient list for a smooth texture.
Recipe Tips
- If the blondies seem too dry, add 2 tablespoons of pumpkin puree to the batter before baking for extra moisture.
- When the edges start to brown but the center looks underbaked, check doneness 25 minutes into baking using a toothpick.
- If the cinnamon-sugar topping dissolves too much, add another tablespoon of granulated sugar to the mix for a better texture.
- When slicing the blondies, wait at least 30 minutes after baking for cleaner cuts and easier handling.
- If the blondies appear to be too sticky while mixing, ensure flour is properly measured, scoop lightly without packing it down.
Serving Suggestions
Serve pumpkin snickerdoodle blondies alongside whipped cream or a scoop of vanilla ice cream. Pair with a warm drink such as spiced chai or coffee.
Use to make dessert bars topped with chocolate chips or nuts for extra crunch. Add to a dessert platter with fruit salad or mini cheesecakes.
Top with a drizzle of caramel sauce or a sprinkle of sea salt. Serve with a dollop of cinnamon cream for a warm finish.
Recipe variations
- You can use chopped pecans or walnuts to add a crunchy texture to pumpkin snickerdoodle blondies. About ½ cup mixed in before baking works well.
- Add ½ cup mini chocolate chips to the batter for a sweet contrast with the cinnamon-sugar topping and pumpkin pie spice in the recipe.
- Either canned pumpkin puree or fresh pumpkin puree cooked and mashed can be used. Just measure ¾ cup to maintain the proper batter consistency.
- If making a larger batch, double all ingredients and bake in a 9-by-13-inch pan, adjusting the baking time to about 35-38 minutes for even cooking.
Save This Recipe!
How to Store?
To keep your pumpkin snickerdoodle blondies fresh and delicious, follow these storage tips:
Room Temperature: Store in an airtight container at room temperature up to 2 days. Keep away from sunlight to avoid drying out.
Refrigeration: Place in an airtight container in the refrigerator up to 7 days. Let blondies reach room temperature before serving.
Freezing: Wrap tightly in plastic wrap and place in a freezer container up to 3 months. Thaw at room temperature before slicing.
Other Recipes You’ll Love
If you enjoyed this Pumpkin Snickerdoodle Blondies or any other recipe on my blog, please leave a ⭐ star rating and let me know how it went in the comments below. I appreciate taking time to read about this recipe, thank you!