
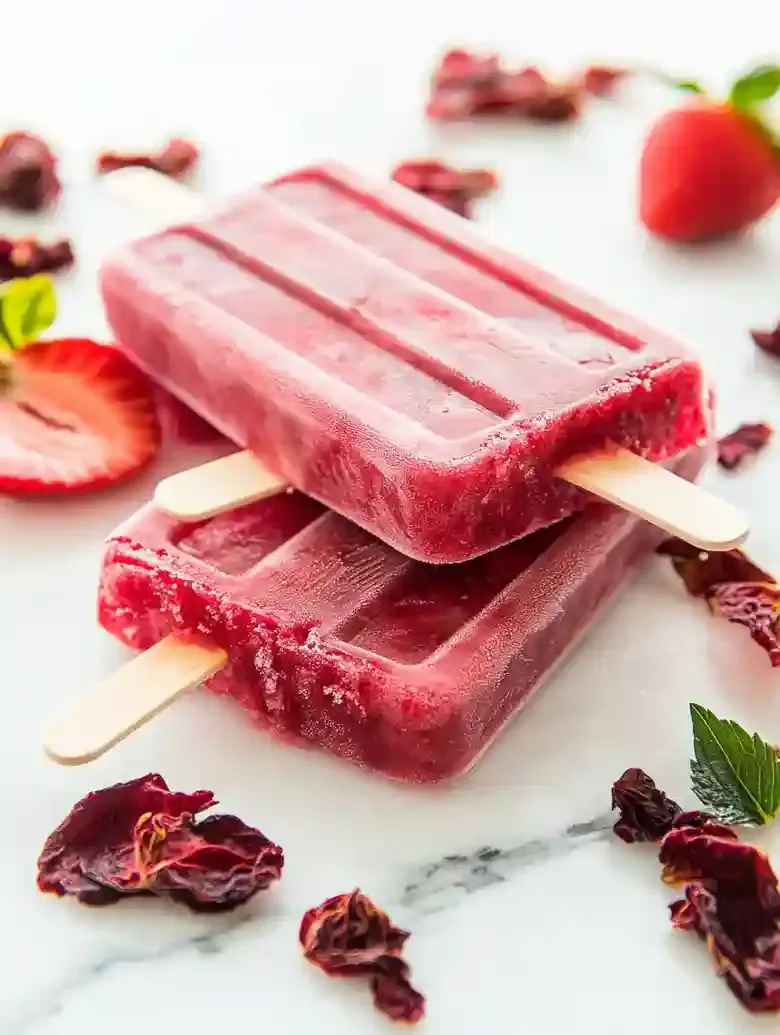
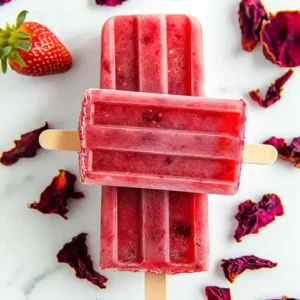
These hibiscus strawberry ice pops are a refreshing treat, blending tart hibiscus tea with sweet, juicy strawberries. Perfect for hot days, they’re not just delicious but also easy to whip up at home, making them a great summer delight.
This recipe addresses the challenges of preparation time and the need for balanced flavors, making enjoyable and refreshing ice pops for everyone.
I often find myself needing a quick dessert when friends drop by or after a long day. In those moments, having a recipe for these pops on hand means I skip the hassle of grocery runs, and they fit nicely into a healthy eating plan, too.
What really makes these pops stand out is their delightful flavor and texture. After just 15 minutes of prep and a freeze time of about three hours, you get a fruity, vibrant snack that will satisfy your craving for something cold and sweet without being overly sugary.
If you enjoy refreshing desserts, check out my Strawberry Crunch Cheesecake Cones for another tasty treat perfect for warm weather!
Table of contents
Why You Will Love This Recipe
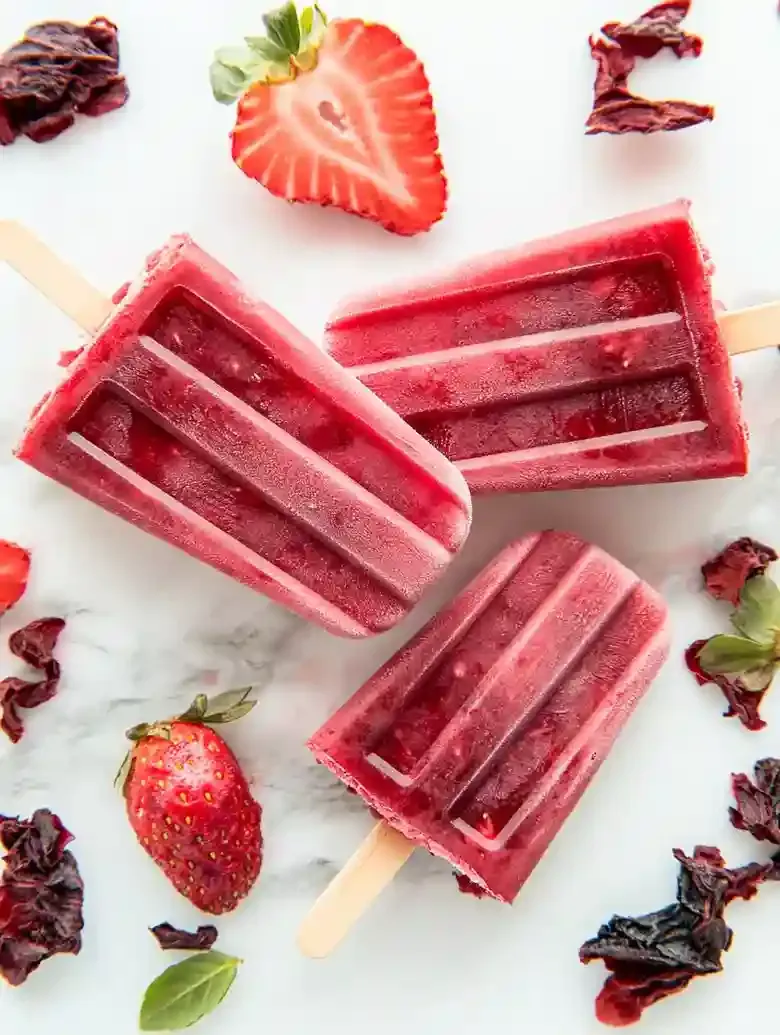
- Refreshing Summer Treat , These hibiscus strawberry ice pops are a fantastic way to chill out during warm weather. The tartness of hibiscus beautifully contrasts with the sweetness of strawberries, creating a truly refreshing experience.
- Quick Prep Time , With just 15 minutes needed to prepare, these popsicles are easy to whip up anytime. You can blend the flavors and get them in the freezer so you’re all set for those hot summer days.
- Health Benefits , Made with hibiscus tea, these ice pops are rich in antioxidants and low in sugar. They offer a sweet, satisfying way to enjoy a healthier dessert without sacrificing flavor.
- Long-Lasting Freshness , Once frozen, these popsicles can be stored for weeks. They’re a great make-ahead option, ensuring you have a delightful treat ready whenever the craving strikes!
Mexican Hibiscus Strawberry Ice Pops
- Prep Time: 15 minutes
- Cool Time: 0 minutes
- Cook Time: 0 minutes
- Total Time: 3 hours 15 minutes
- Yield: 8 paletas 1x
- Category: dessert
- Method: freezing
- Cuisine: Mexican
- Diet: Vegetarian
Description
Delicious strawberry hibiscus popsicles, a refreshing treat perfect for summer.
Ingredients
- 1/4 cup (6 g) dried hibiscus flowers, bright deep red, petals only
- 2 cups (480 ml) water, filtered if possible
- 1 1/2 cups (225 g) fresh strawberries, ripe and washed
- 1 tablespoon (21 g) honey or preferred sweetener (use agave syrup as vegan alternative)
- 1 tablespoon (15 ml) freshly squeezed lime juice
- Saucepan or pot for boiling water
- Fine mesh strainer
- Popsicle molds with sticks
- Mixing bowl
- Knife and cutting board
Instructions
- Step 1: Bring 2 cups of water to a boil in a saucepan. Once boiling, remove from heat and add 1/4 cup dried hibiscus flowers. Let steep for about 10 minutes to fully extract tart flavor. Strain out flowers with a fine mesh strainer and allow the tea to cool completely.

- Step 2: Stir 1 tablespoon honey (or agave syrup) into cooled hibiscus tea. Taste the mixture and add more sweetener in 1/2 tablespoon increments if necessary to reach preferred sweetness level. Add 1 tablespoon freshly squeezed lime juice to balance flavors. Mix well.
- Step 3: Slice strawberries into uniform, medium-thick pieces for even freezing and attractive layering. If strawberries are too firm, let them sit at room temperature for 10 minutes before slicing.
- Step 4: Alternate layers of sliced strawberries and hibiscus tea mixture in popsicle molds. For layered pops, pour a layer of hibiscus tea, freeze for 30 minutes, then add strawberries, topping with more tea mixture. Insert sticks before final freeze.
- Step 5: Place the filled molds in the freezer for at least 3 hours to solidify. Depending on freezer strength, freezing longer may be necessary. If popsicles become very hard, let stand at room temperature for 5 minutes before removing from molds.
Notes
- Room Temperature: Do not store at room temperature to avoid melting and loss of shape.
- Refrigeration: Store in an airtight container in the refrigerator for up to 1 day; consumes quickly as pops will soften.
- Freezing: Wrap popsicles tightly in plastic wrap or aluminum foil inside a freezer-safe container. Store up to 3 months. Thaw a few minutes at room temperature before serving.
- Use bright, deep red dried hibiscus petals without stems or debris for optimal tartness and color.
- Choose ripe strawberries that smell sweet with slight give for best flavor and texture.
- Adjust sweetness carefully by tasting the cooled hibiscus tea and adding sweetener in small increments.
- To achieve layered popsicles, partially freeze hibiscus tea before adding fruit layers.
- If popsicles are too hard when frozen, let stand briefly at room temperature to ease removal.
Nutrition
- Serving Size: 1 paleta
- Calories: 80
- Sugar: 12g
- Sodium: 5mg
- Fat: 0g
- Saturated Fat: 0g
- Unsaturated Fat: 0g
- Trans Fat: 0g
- Carbohydrates: 21g
- Fiber: 2g
- Protein: 1g
- Cholesterol: 0mg
Ingredient Notes
- Dried hibiscus flowers: Look for bright, deep-red dried hibiscus. They’ll give your pops that signature tangy flavor. Try to avoid any stems or debris; just the petals are best.
- Fresh strawberries: Choose ripe strawberries with a deep red color. They should smell sweet and have a slight give when gently squeezed. Wash them before blending for a cleaner taste.
- Water: Use clean, filtered water if possible. It’ll let the flavors of the hibiscus and strawberries shine through without any unwanted tastes. Plus, it helps maintain the icy texture of the pops.
- Honey: Use raw or local honey for a more robust sweetness. It blends nicely with the tartness of the hibiscus and strawberries. If you’re vegan, agave syrup works well as a substitute!
- Lime juice: Freshly squeezed lime juice adds a zesty kick and balances the flavors perfectly. Avoid bottled lime juice, as it can have preservatives that alter the taste.
Recipe Tips
- If strawberries are too hard to cut, let them sit at room temperature for 10 minutes to soften slightly before slicing.
- When hibiscus tea lacks flavor, steep dried hibiscus flowers for 10 minutes to extract the full tartness before cooling.
- If the popsicles are too hard, let them sit at room temperature for 5 minutes before attempting to remove them from the molds.
- For uneven sweetness, after adding sugar, taste the mixture and add more sugar in 1/2 tablespoon increments until desired sweetness is achieved.
- If you want layered pops, pour one layer of the hibiscus mixture, freeze for 30 minutes, then add sliced strawberries before topping with more mixture.
Serving Suggestions
Serve hibiscus strawberry ice pops alongside fresh fruit salads or chilled yogurt for a refreshing treat. Pair them with cold beverages like hibiscus iced tea or sparkling water with lime.
Use hibiscus strawberry ice pops to make smoothies or blend into popsicle-inspired cocktails. Add to fruit salads for a summer dessert twist or chop and mix into granola for a unique topping.
Top with a drizzle of honey or agave syrup for added sweetness. Consider sprinkling lime zest or crushed mint leaves for a bright finish on each pop.
Recipe variations
- You can use fresh or frozen hibiscus flowers steeped in 2 cups of boiling water as the tart base for these strawberry hibiscus popsicles.
- Add 1 tablespoon of sugar to the cooled hibiscus tea and mix thoroughly to sweeten according to your taste preferences.
- Either fresh sliced strawberries or pureed strawberries can be used in the molds before freezing, depending on your desired texture.
- If making larger batches, multiply ingredients by 2 or 3 and freeze popsicles in multiple molds to maintain consistent freezing times for all servings.
Save This Recipe!
How to Store?
To keep your Mexican Hibiscus Strawberry Ice Pops fresh and delicious, follow these storage tips:
Room Temperature: Do not store ice pops at room temperature as they will melt quickly and lose shape, rendering them unfit to serve.
Refrigeration: Keep in an airtight container in the refrigerator up to 1 day. Consume quickly before popsicles soften and drip.
Freezing: Place wrapped in plastic wrap or aluminum foil inside a freezer-safe container. Store up to 3 months. Thaw at room temperature minutes before serving.
Other Recipes You’ll Love
If you enjoyed this hibiscus strawberry ice pops or any other recipe on my blog, please leave a ⭐ star rating and let me know how it went in the comments below. I appreciate taking time to read about this recipe, thank you!