
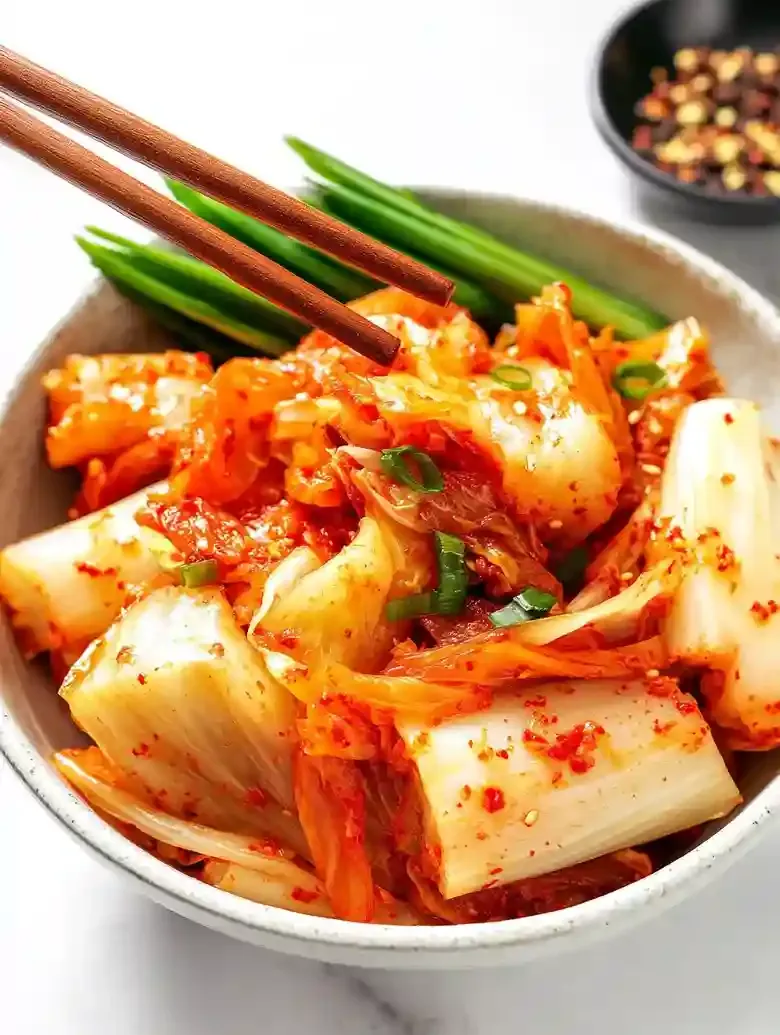
Making Easy Beginner Kimchi (No Fish Sauce) is a fun way to bring a spicy kick to your meals without any fuss. This recipe is simple enough for anyone to try, even if you’ve never made kimchi before.
Solves the need for a vegan kimchi without fish sauce, offering an easy, quick fermentation method that yields bold, spicy vegetables suitable for plant-based diets.
Sometimes, I struggle to find recipes that fit my dietary needs but still taste amazing. This kimchi recipe helps solve that! You can enjoy traditional flavors without fish sauce, making it a perfect choice for plant-based diets and those avoiding gluten.
What I love about this recipe is that it uses just six ingredients and takes a little over an hour to prep. It ferments over two days, giving you time to relax while flavors develop and create a crunchy, tangy delight that’s great as a side dish or a snack.
If you like simple recipes that bring bold flavor, you might also enjoy this salad. It’s quick to whip up and offers a different twist on fermentation!
Table of contents
Why You Will Love This Recipe
- Flavorful Kick: This kimchi packs a spicy, umami punch without the fish sauce. You’ll enjoy a zingy blend of garlic, ginger, and gochugaru that’s hard to resist.
- Crunchy Texture: The napa cabbage gives this dish a satisfying crunch that contrasts beautifully with the soft, fermented vegetables. It makes each bite more enjoyable.
- Convenient Storage: You can keep your kimchi in the fridge for weeks or even months. It only gets better with time, so no rush to finish it.
- Simple Ingredients: You won’t need any fancy or hard-to-find items. All the ingredients are from your local grocery store, making this recipe super accessible.
Easy Vegan Kimchi Recipe Without Fish Sauce
- Prep Time: 75 minutes
- Cool Time: 0 minutes
- Cook Time: 2880 minutes
- Total Time: 2880 minutes
- Yield: 4 cups 1x
- Category: fermentation
- Method: Fermentation
- Cuisine: Korean
- Diet: Vegan
Description
This easy beginner kimchi recipe requires no fish sauce and is made through fermentation.
Ingredients
- 1 large head napa cabbage (3 to 5 lbs)
- 1/4 cup non-iodized salt (60 g)
- 1/4 to 1/2 cup gochugaru (Korean pepper flakes, 30 to 60 g)
- 7 to 10 cloves garlic, fresh
- 3 to 4 inches ginger (7.5 to 10 cm), fresh
- 1 tsp sugar
- 3 to 4 Tbsp water (45 to 60 mL)
- Optional: 3 Tbsp miso paste
- 2 carrots (cut into strips) or 8 oz daikon radish
- 4 green onions (cut into 1-inch pieces)
Instructions
- Mix Ingredients Together: Start by mixing your napa cabbage with non-iodized salt in a large bowl. Massage the salt into the cabbage until it feels slightly crunchy but pliable, releasing some moisture. This step is essential for achieving that juicy crunch in your kimchi.
- Add Seasonings & Veggies: Stir in the minced garlic, grated ginger, and gochugaru, along with the carrots or daikon. Mix well until all ingredients are incorporated. The aroma should be fragrant and a bit spicy. Be cautious not to add too much gochugaru at once to avoid overpowering heat.
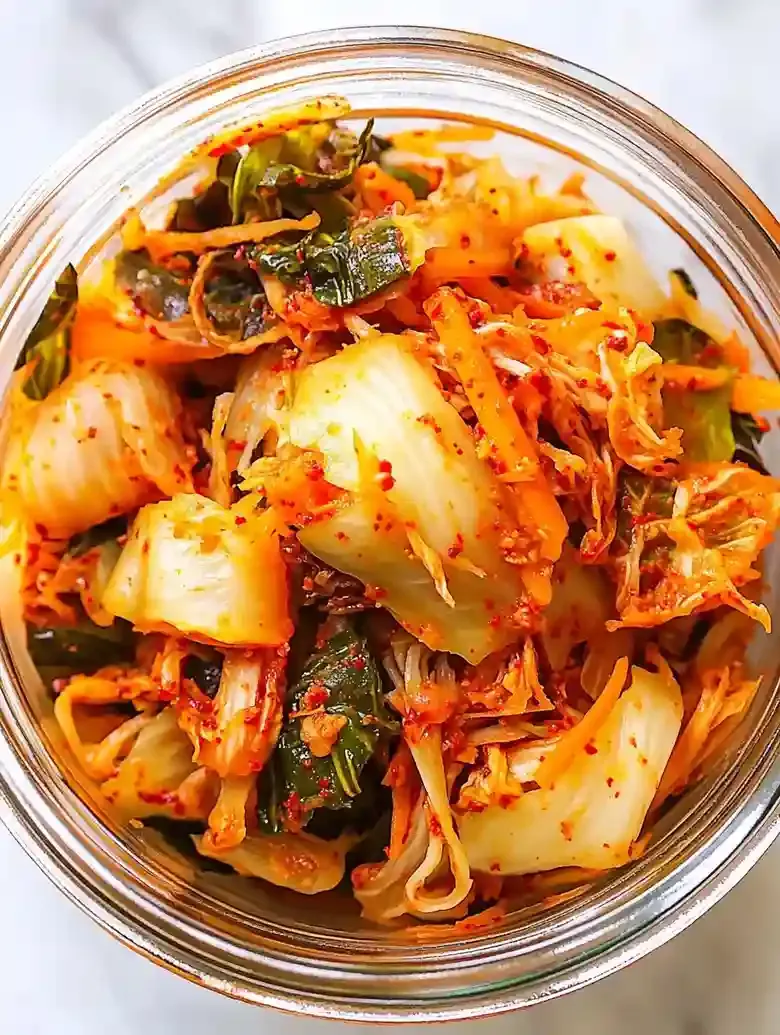
- Pack Kimchi Into Jars: Tightly pack the kimchi mixture into clean glass jars. As you compress it, you should see some brine forming. Leave some space at the top of the jars because the kimchi will expand during fermentation; avoid overfilling.
- Ferment in a Warm Spot: Leave the packed jars out at room temperature for a couple of days, away from direct sunlight. You should notice bubbles forming, which indicates fermentation is occurring.
- Taste Test & Store: After a couple of days, check the taste of your kimchi. It should be slightly tangy while still crunchy. If it is too sour for your preference, place it in the refrigerator to slow fermentation.
Notes
- Storage Tips: Store kimchi in the fridge in clean glass jars to slow the fermentation process. It can last several weeks or months if kept in a sterilized jar.
- Expert Tips: Use gloves when mixing ingredients to avoid lingering garlic smells on your hands. If kimchi is not bubbling during fermentation, ensure it is stored at room temperature away from sunlight. For overly salty kimchi, lightly rinse under cold water before consumption.
- Reheating Instructions: Reheating is not typically necessary for kimchi; serve chilled or at room temperature as a side dish.
- Serving Suggestions: Serve as a side dish with rice and proteins. Use it as a topping for sushi or rice bowls for added flavor. It can also add a spicy kick as a topping for tacos.
- Recipe Variations: For added crunch, include chopped cucumber. Incorporate fruits like apple or pear for a touch of sweetness. You can also add sesame seeds for a nuttier flavor.
- Ingredient Notes: When selecting napa cabbage, choose heads that feel heavy and have crisp, unblemished leaves for the best results. For gochugaru, if unavailable, hot paprika powder can be a substitute; however, adjust to taste. Miso paste provides an umami flavor, but it can be skipped for a simpler recipe.
Nutrition
- Serving Size: 1 cup
- Calories: 23
- Sugar: 2g
- Sodium: 624mg
- Fat: 0g
- Saturated Fat: 0g
- Unsaturated Fat: 0g
- Trans Fat: 0g
- Carbohydrates: 4g
- Fiber: 2g
- Protein: 1g
- Cholesterol: 0mg
Ingredient Notes
- Napa cabbage: This is the star! It gives that signature crunch. Look for heads that feel heavy and have crisp, unblemished leaves.
- Non-iodized salt: It helps draw moisture out of the cabbage to create brine. Avoid table salt because it can alter the taste.
- Gochugaru: These Korean pepper flakes add heat and color to our kimchi. If you can’t find them, try using chili flakes, but adjust the amount to taste.
- Garlic: You’ll want to use several cloves for that awesome zing. Fresh garlic is key, avoid pre-minced for better flavor!
- Ginger: Fresh ginger adds a subtle warmth and depth. Opt for firm, unwrinkled pieces to get the best flavor.
- Sugar: Just a touch of sugar balances the spiciness and helps in fermentation. Honey can work in a pinch if you’re out of sugar.
- Water: A bit of water helps combine the ingredients smoothly. Tap water is fine, but filtered can help if your tap water isn’t great.
- Miso paste (optional): This adds a nice umami kick. If you don’t have it, you can skip it or try a splash of soy sauce instead.
- Carrots: They add a lovely crunch and sweetness! If you’re not a carrot fan, you can totally swap in daikon radish.
- Green onions: These add freshness and an oniony bite. Look for vibrant green tops for the best flavor and appearance.
Recipe Tips
- If kimchi isn’t bubbling during fermentation, checking that it’s stored at room temperature away from sunlight can encourage the process.
- When your cabbage remains too crunchy, allowing it to ferment in a warm spot for an additional day may soften it.
- If your kimchi becomes too sour too quickly, reducing the fermentation time or placing it in a cooler environment can help manage the flavor.
- For those wary of saltiness, lightly rinsing overly salty kimchi under cold water can make a noticeable difference.
- If mixing by hand, using gloves can minimize lingering garlic smells on your hands after preparation.
Serving Suggestions
Serve this easy beginner kimchi alongside rice and proteins for a satisfying meal. Top sushi or rice bowls with it for an extra flavor boost.
Use kimchi as a topping for tacos to add a spicy kick. It works well in various dishes, enhancing salads or grain bowls.
Add a drizzle of sesame oil before serving for an aromatic touch. A sprinkle of green onions also adds freshness to each serving.
Recipe variations
- You can use green cabbage instead of napa cabbage for a different flavor profile in your easy beginner kimchi.
- Add 1 tablespoon of soy sauce to enhance the umami taste alongside the garlic and ginger.
- Either use shredded carrots for a sweet crunch or opt for julienned daikon radish for a sharper bite.
- For larger batches, scale up the main ingredients by doubling them, using 2 large heads of cabbage and ½ cup of salt.
Save This Recipe!
How to Store?
To keep your easy beginner kimchi fresh, follow these storage tips:
Refrigeration: Store kimchi in an airtight container in the fridge for up to several weeks. This slows fermentation effectively.
Long-Term Storage: Use a freezer bag to store kimchi in the freezer for up to 3 months. Thaw in the fridge before serving.
Room Temperature: Avoid storing at room temperature, as this can lead to overly rapid fermentation. Keep it cool for optimal flavor.
Other Recipes You’ll Love
- Cucumber Tzatziki Salad
- Blueberry Goat Cheese Flatbread with Caramelized Onions
- Mexican Street Corn Salad (Elote Salad)
- Grilled Zucchini Corn Salad
If you enjoyed this Easy Beginner Kimchi (No Fish Sauce) or any other recipe on my blog, please leave a ⭐ star rating and let me know how it went in the comments below. I appreciate taking time to read about this recipe, thank you!